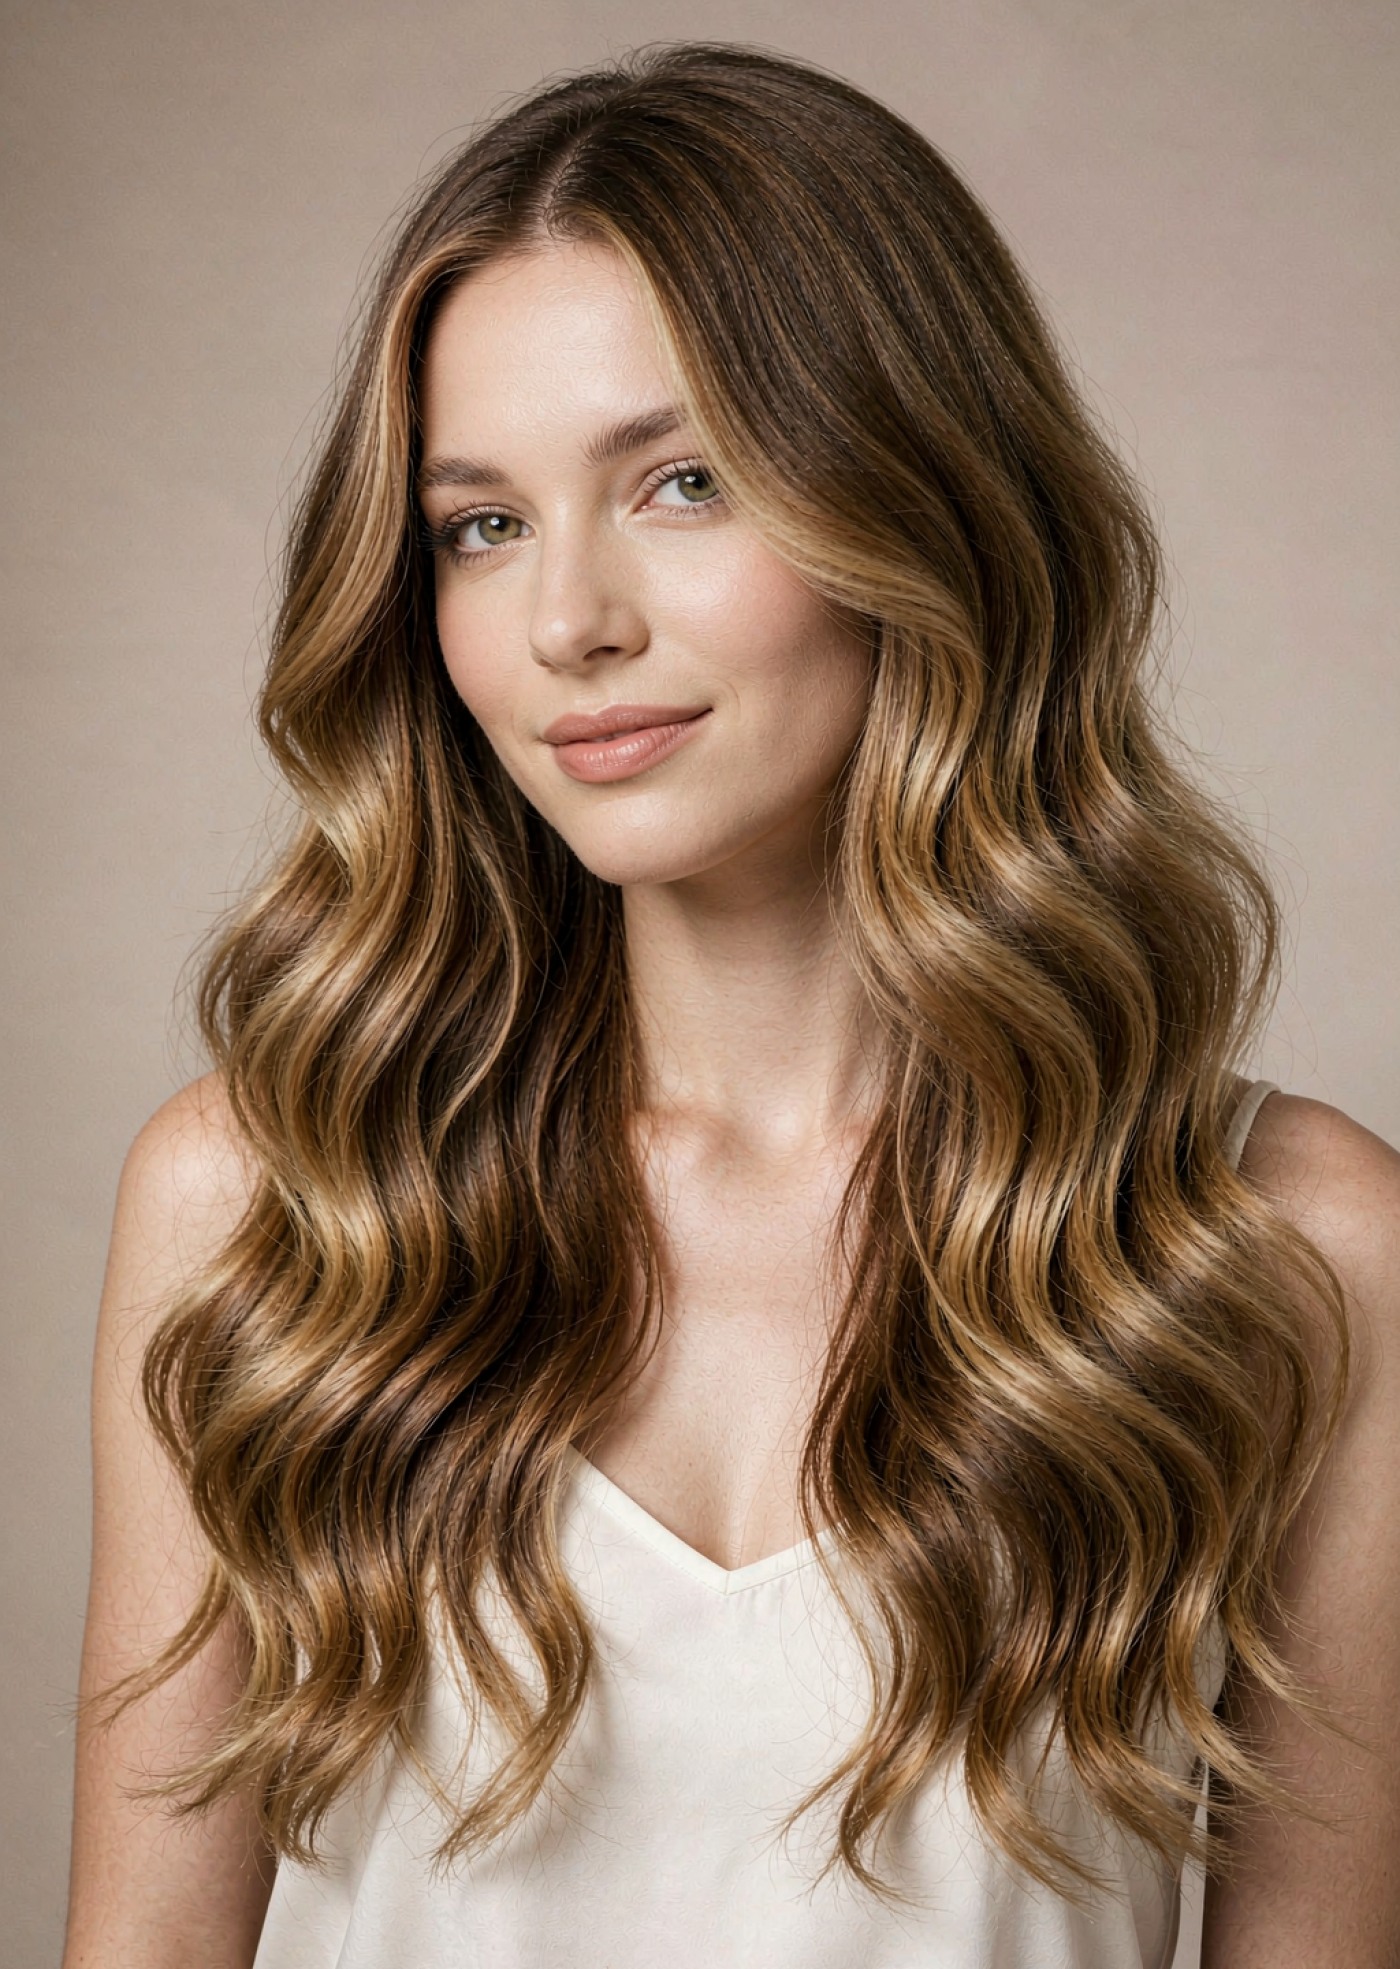
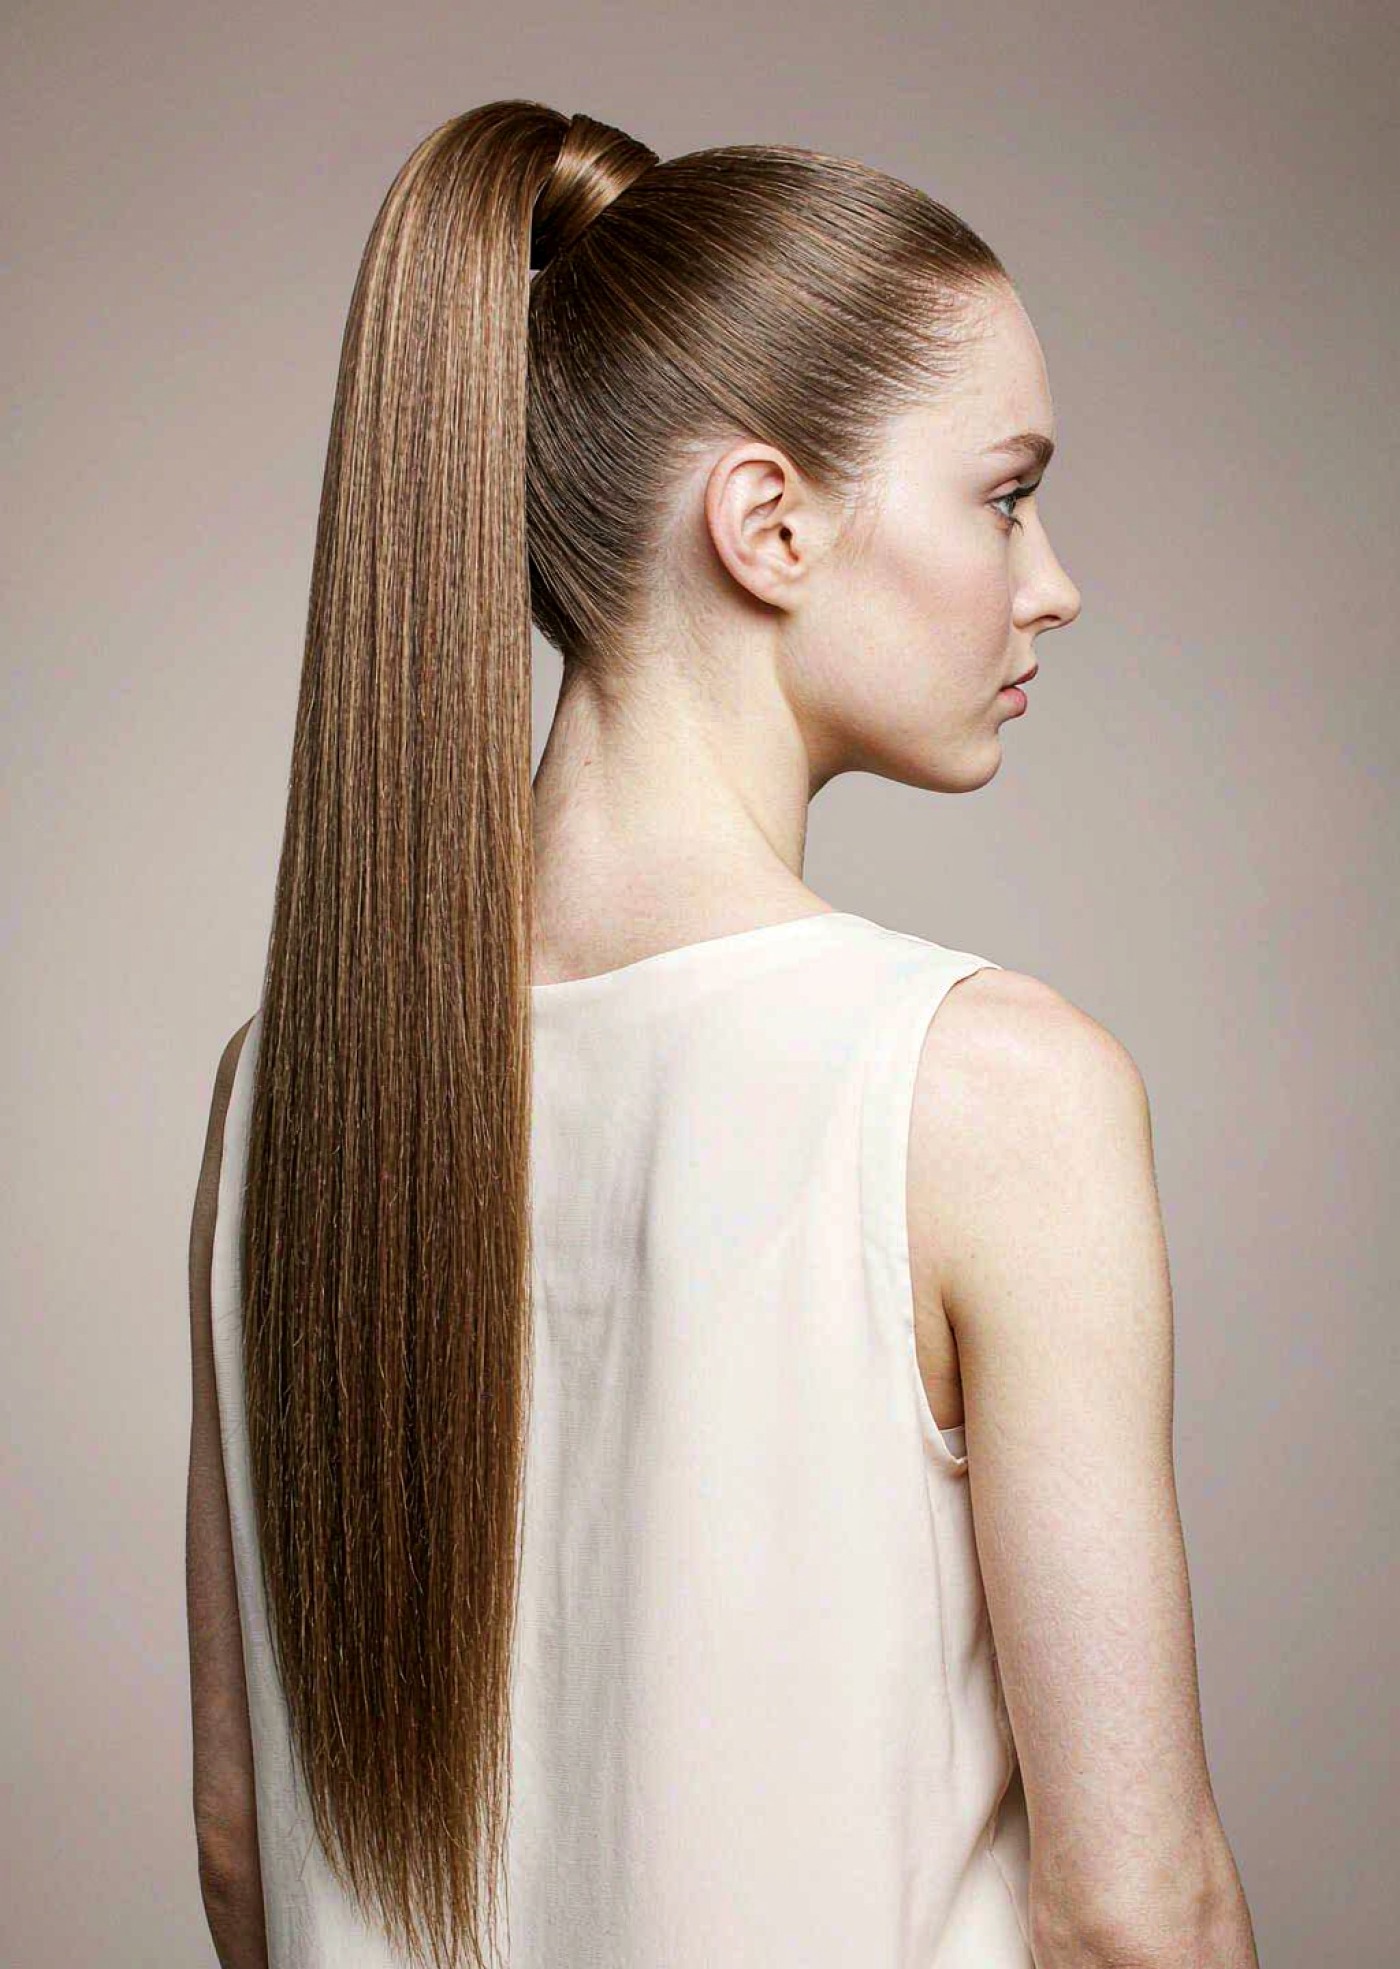
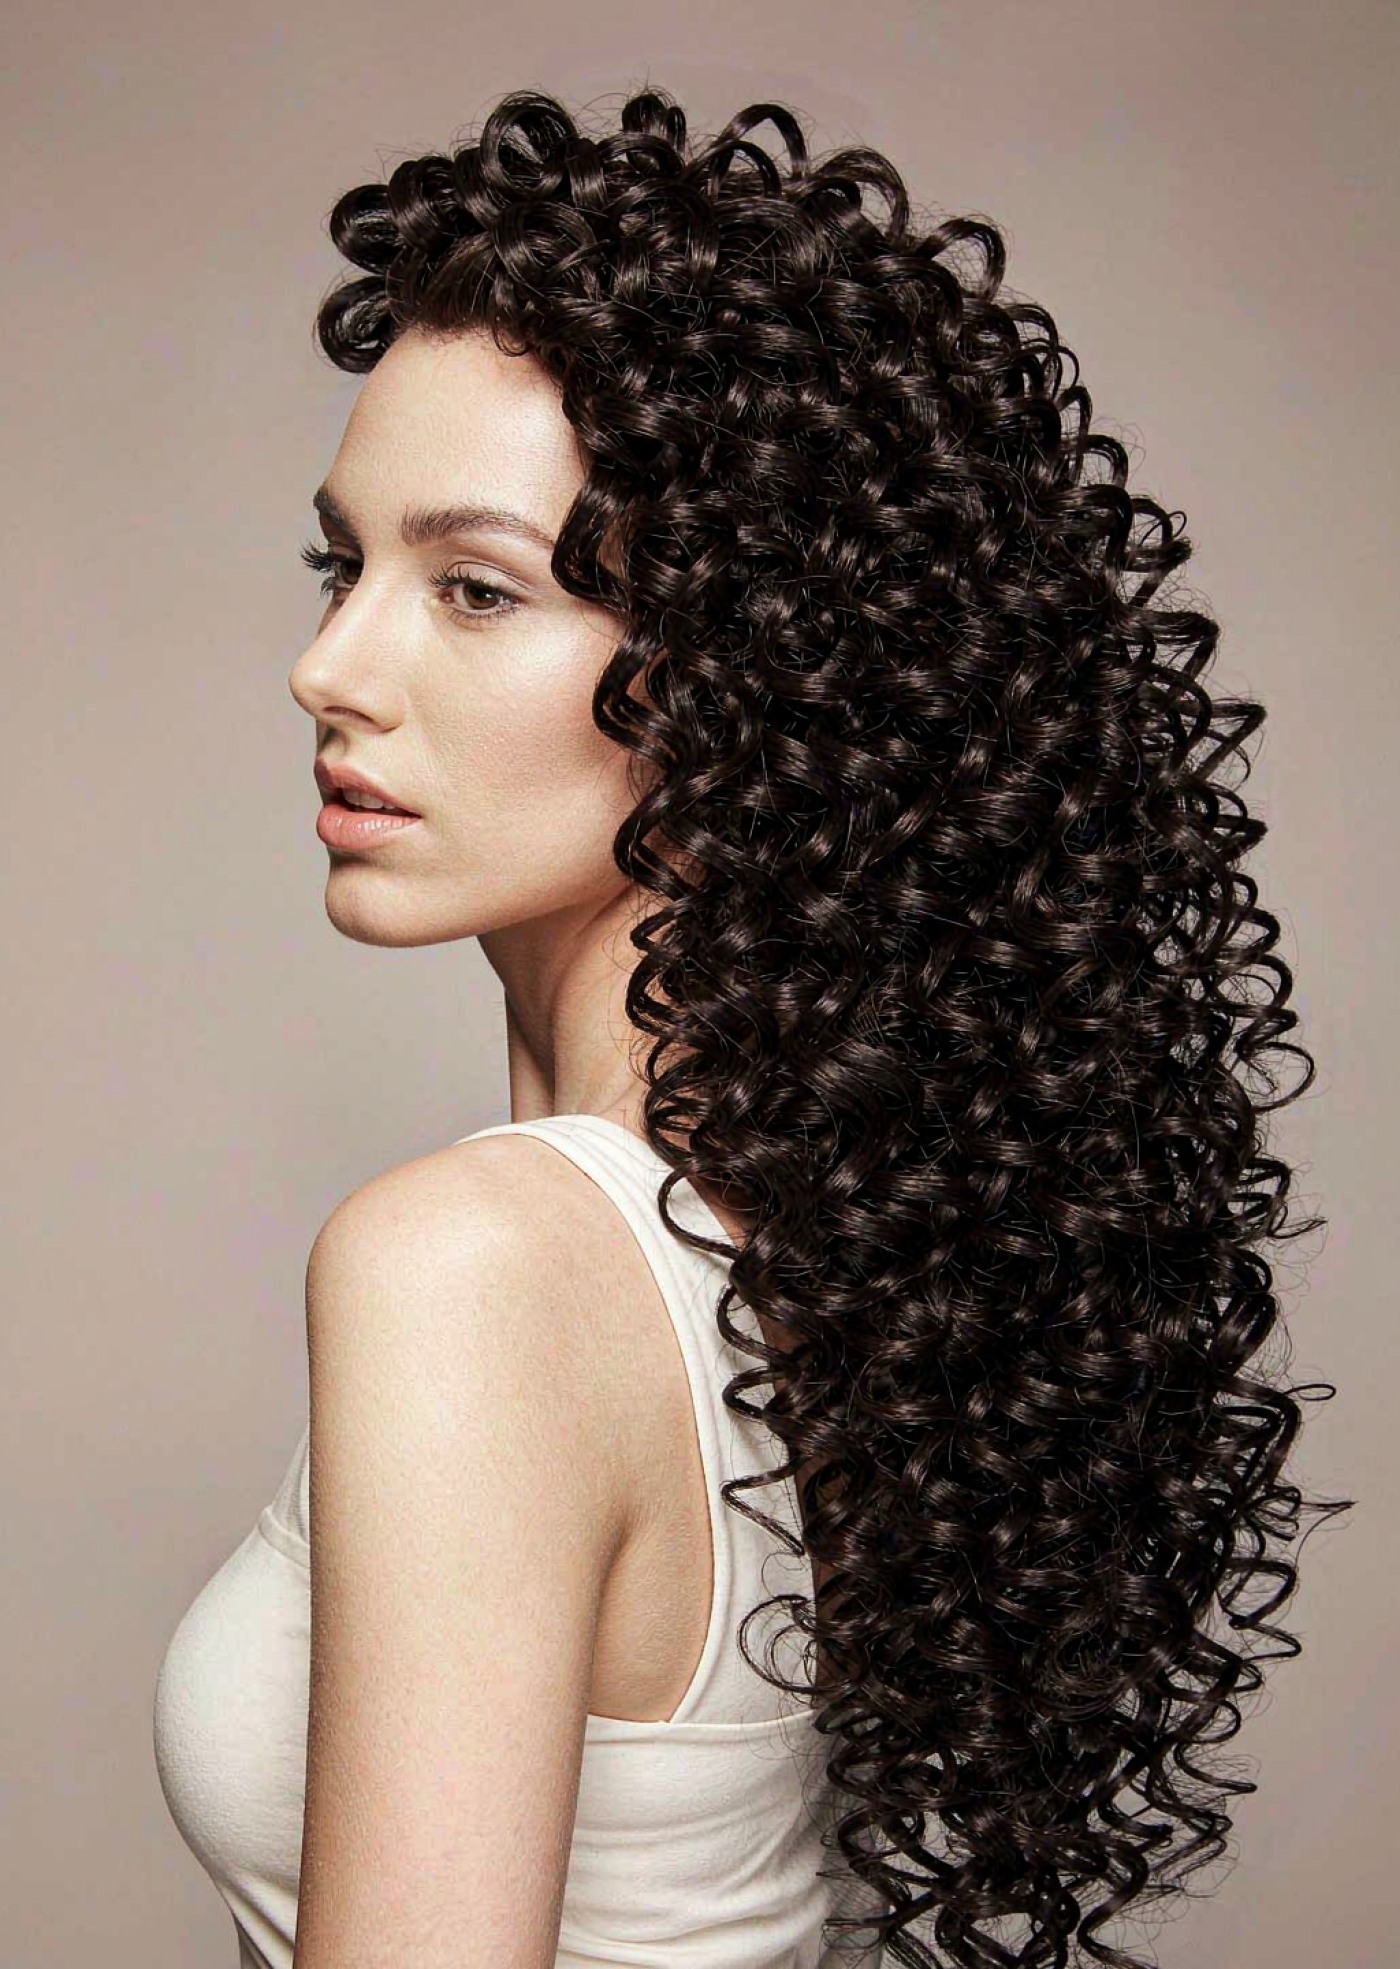
Clip-ins are the most forgiving extension method - no glue, no tools, and you can take them out at night. But a poor application is obvious: panels that slip, clips that show, and a line where the hair suddenly gets thicker. Follow this order and it will not happen to you.
Before you start
Brush your natural hair thoroughly and clip up the top section, leaving the lower half down. A little texturising spray at the roots stops the clips sliding. Decide first whether you want volume or length with our volume vs length guide, and match the shade using the shade chart.
Placement order
- Start at the nape. Take a thin horizontal section just above the neck and clip the widest weft in, snapping the clips shut from the outside in.
- Work upward in layers. Add one weft every 2-3 cm, letting the lower sections fall over the clips above as you go.
- Save the small panels for the sides and temples. These shape the face and blend the front.
- Leave the top 3-4 cm clear. This is your cover layer - it hides every clip.
Blend like a stylist
Let the top section down and brush everything together from the mid-lengths. Add a few face-framing pieces and check the parting in a mirror. Short-hair clients should read extensions for short hair first; the styling ideas in clip-in hairstyles give you finished looks.
Security and removal
Gently tug each panel - nothing should move. If a clip shows, you placed the weft too high or the section was too thick. To remove, open the clips from the outside in and slide the weft out slowly; never pull the hair. Our bedtime guide explains why removing them at night matters, and the lifespan guide shows how good handling extends wear.
Not sure clip-ins are right for you? Compare them with tape-ins in our comparison guide. Stock a starter set from the wholesale catalogue - our 100% human clip-ins are a client favourite. Request samples to practise placement on a mannequin first.